10 Things to Love about Krita
A highlight of Krita’s tools and features that you might find helpful to speed up your work and be technically precise.
Since the release of Krita 4 last year, many new features have been added to this increasingly powerful open-source painting software, and several existing features have been improved or are just too useful to miss. Lets go over some of them:
Colorize Masks
This new feature in Krita 4 is specifically designed to color line art, and can be a real time saver if you are into comic book art, or need to repetitively color any sort of line drawings with precision and quickly.
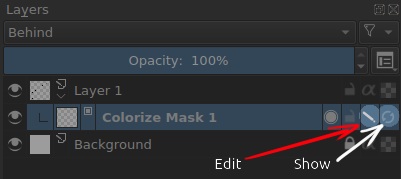
The steps to use colorize masks are:
- Select the layer containing your line art
- Add a Colorize Mask to it
- Paint color strokes inside each area, as shown in the middle drawing
- Click on the Show button to process (or update) the result
- Click on the Edit Button to hide the strokes
Additionally, you can select the Colorize Mask Editing Tool from the Toolbox docker, and you will find additional tweaking options in the Tool Options docker, such as defining certain colors as transparent, removing colors or setting detection limits, to name a few. The advantage of this coloring method is that you quickly get a base color, and since it is a separate layer, it is non-destructive, meaning you can click on the Edit button again to edit your color strokes and reprocess with the Show/Update button.
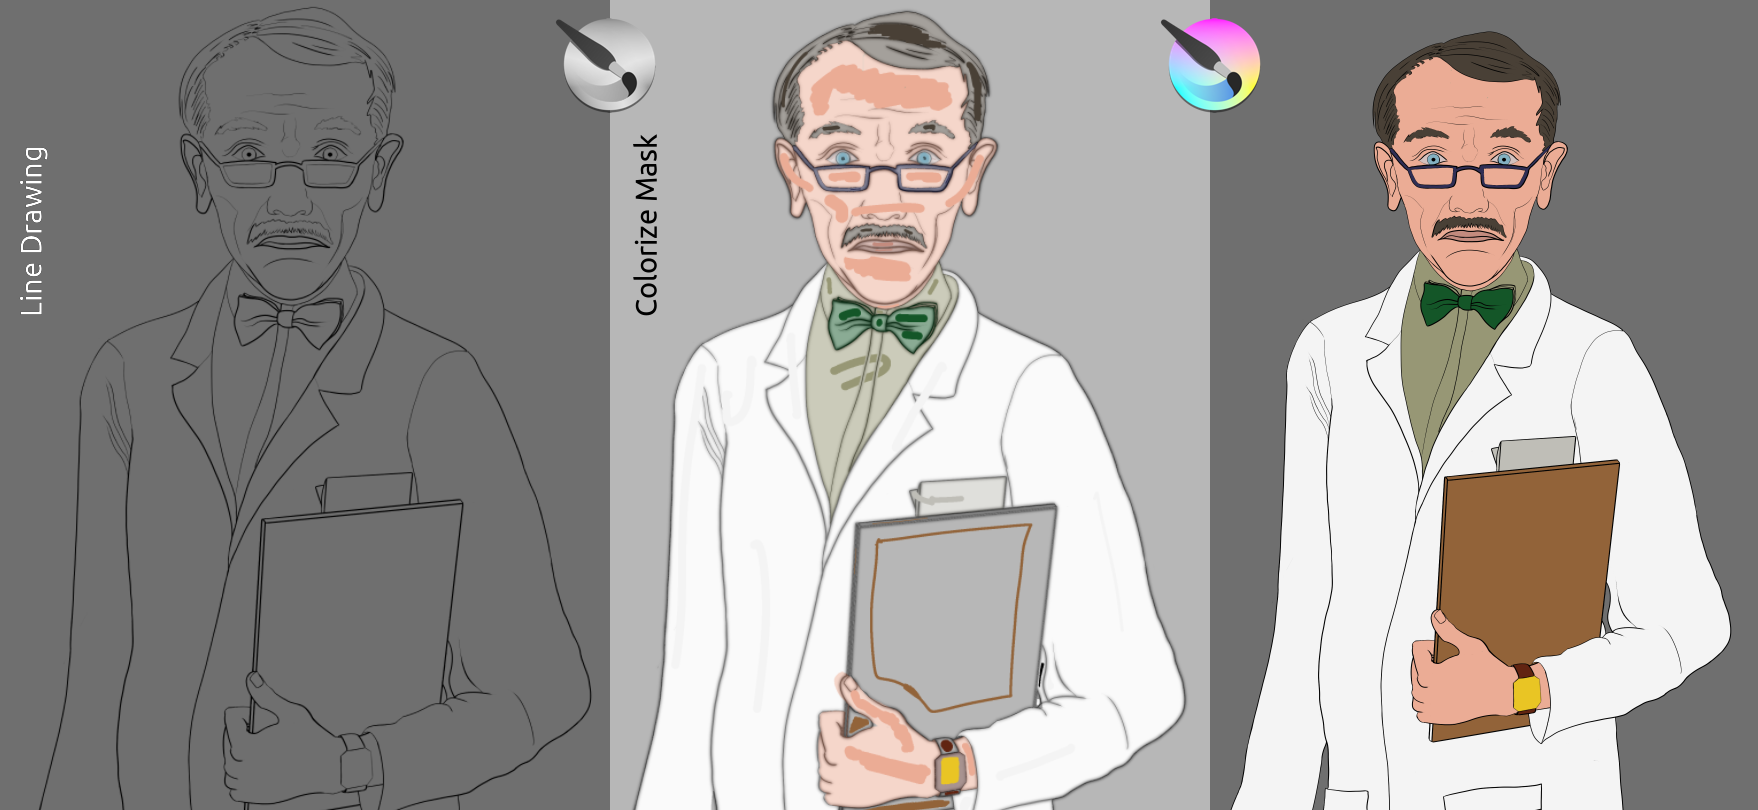 Depending on the complexity of your drawing, you might need to add additional strokes in certain areas to help Krita calculate a better coloring result. It might take a few tries to get it right, but it is definitely worth it to get a basic color layer before working on shading or details, or as a final color.
You are not limited to painting one color inside each area, you can paint multiple colors and Krita will calculate the color distribution according to the position and size of your strokes.
Mirror View + Mirror Tool + Multibrush Tool
Krita has both mirror tools and a mirror view. The mirror view simply flips the canvas instantly, so you can analyze your artwork from another perspective without any processing lag whatsoever while you work. You can enable Mirror View in the View menu, under Canvas.
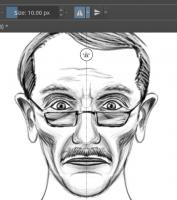 The Horizontal and Vertical Mirror tools, which are found on the Brushes and Stuff docker, allow you to paint symmetrically, which can cut drawing time in half when working on something technical or preparing a quick sketch for a character. If you click on the drop-down menu arrow next to the button, you can lock them, or recenter them, since they can be moved to mirror your strokes off-center too.
Another related tool is the Multibrush tool, which allows you to draw with multiple brushes, duplicating your strokes, either mirrored in any angle or translated from an origin point. This is great for creating fractal patterns.
Custom Shortcuts
 In Krita, practically everything can be assigned personalized shortcuts, which speed up your workflow significantly.
For menu items, if you right click any menu option you can assign or change shortcuts by simply pressing the desired key or button combinations on your keyboard, drawing tablet or mouse, something that is really fast and convenient.
In the case of Tools, Layer options, Blending modes, Filters, Scripts or Animation features, if you don’t find the assign shortcut option by right clicking on them, just go to Settings > Configure Krita > Keyboard Shortcuts. There you can browse or search for any feature by name or its shortcut, and assign up to 2 different shortcuts to each (for example, if you want to activate something from both your keyboard and mouse or tablet).
⚠ Remember to save your custom shortcuts scheme so that your hotkeys are still active after restarting Krita. You can also export your scheme to use the same shortcuts in other systems.
Customizable Brushes
Krita brush options are varied by default, but one of the best aspects of this software is that you can modify existing brushes or create your own to suit your line of work. There are also Brush Bundles that the Krita community share, which you can easily add if you go to Settings > Manage Resources.
These are some high quality bundles you can add if you wish to extend the default brush options:
- GDQuest’s Brushes for Game Artists: https://www.gdquest.com/product/krita/brushes/
- David Revoy’s Brush kit: https://www.davidrevoy.com/article319/krita-brushkit-v8
- Muses Preset Pack: https://krita.org/en/item/the-muses-preset-pack/
Reference Images Tool
This feature allows you to position and resize reference images that will not take up any layers, and are quite unobtrusive. One advantage of using this tool rather than adding a new layer with a reference image is that you can set the reference images to be loaded as an external file, instead of being embedded in the Krita file, and therefore your file sizes remain smaller. Also, you can save your reference images as a Krita Reference Image Collection to be used again later in other files.
If you wish to hide the reference images, you can either set their transparency to 0% in the Tool Options panel, or a better alternative could be save them as a Reference Image Collection, then click the button to remove all references, and reload them later on if necessary; that way they will retain the same position and configuration.
Digital Color Mixer
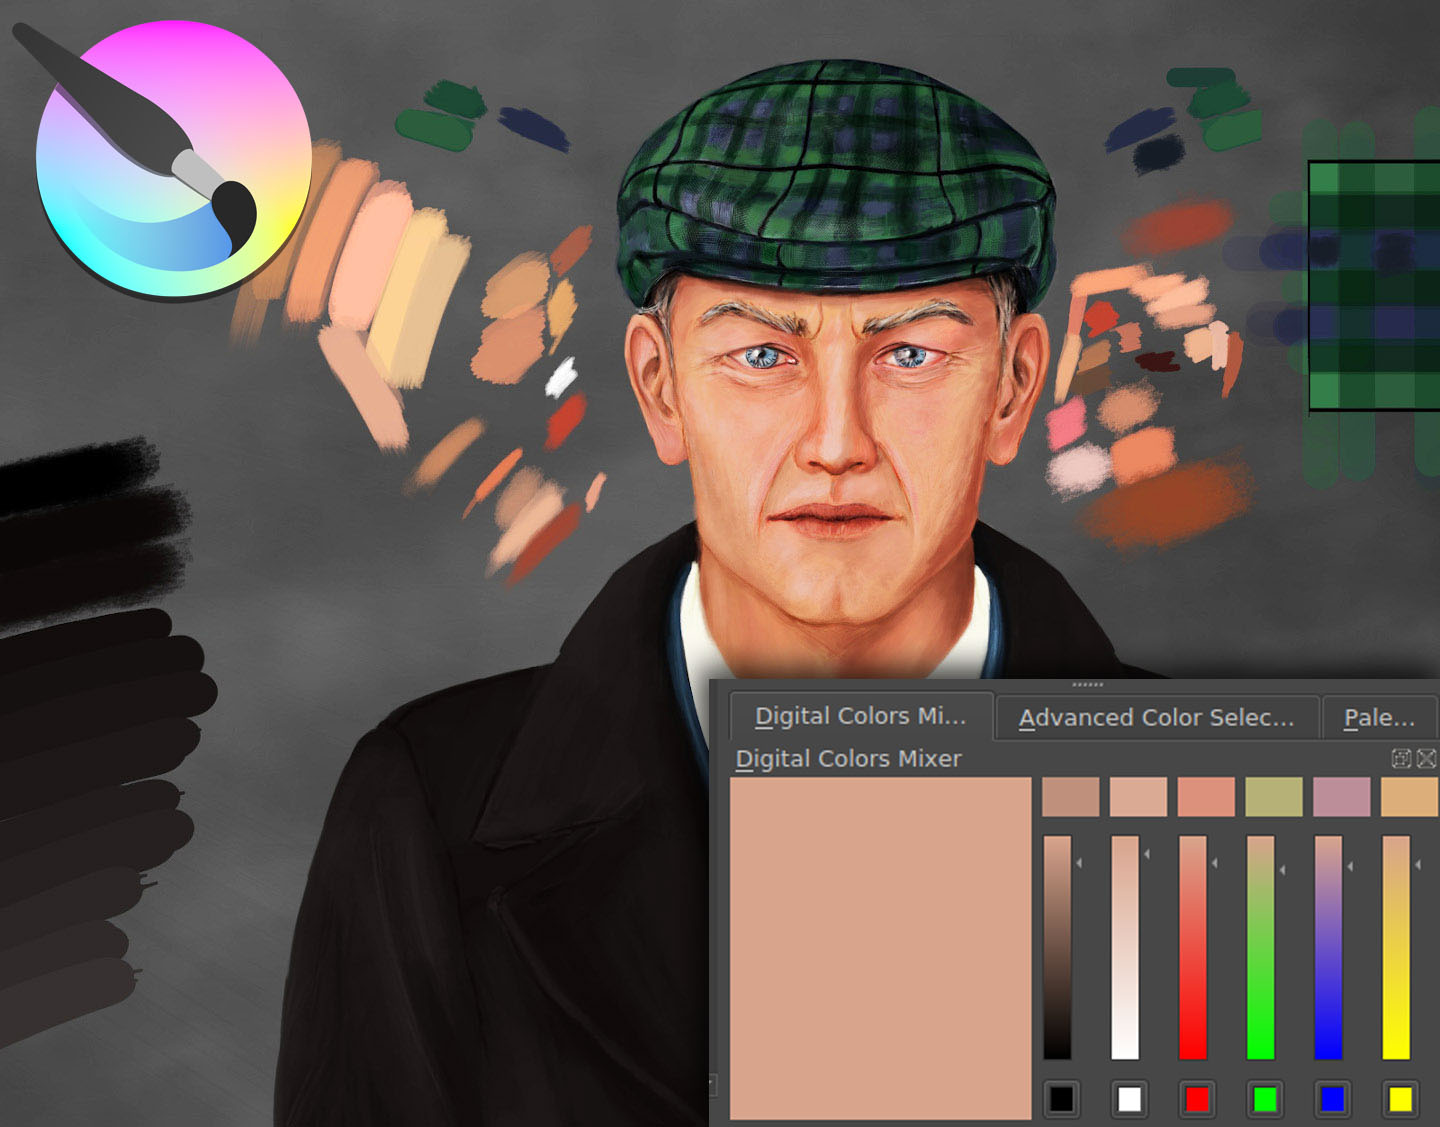 This new feature broadens the options to select colors, allowing you to adjust the active color by adding specific amounts of other colors or values. In this way you are digitally mixing colors to prepare palettes similar to what is done in traditional painting.
Remember you can not only mix with the default colors, but also click on the swatches below the color sliders to change the mixing colors. Drag the sliders to move the arrows up or down in order to increase or decrease the amount you are mixing (you can also scroll with the mouse wheel over the sliders to adjust them). Finally, click on the swatches on top of each slider to set that color as the active one, and add it to your canvas or palette.
Special Layer Types
 Apart from the typical layers you may find in other painting or photo manipulation software, such as Group, Filter, Vector or Transparency layers, Krita includes some additional options like:
- Clone layers, which allow you to have copies of a layer that update automatically with any changes to the source layer;
- Local Selection layers, which store any selection you make of the parent layer, allowing you to change the selection later on, permanently keep specific selections for individual layers, and store selections in the Krita document.
- File Layers, which are designed to load external files, including other Krita files, without increasing the file size of the current document.
- Transform Mask layers, which can be added to store transform data, such as translation, rotation, or scale of the parent layer, that you don’t want to make permanent, or to test various compositions without yet committing to one. If you add many of these layers and enable them all they combine their individual transformations.
- And the previously mentioned Colorize Mask layers, which are quite handy for coloring comic art.
Assistant Tool
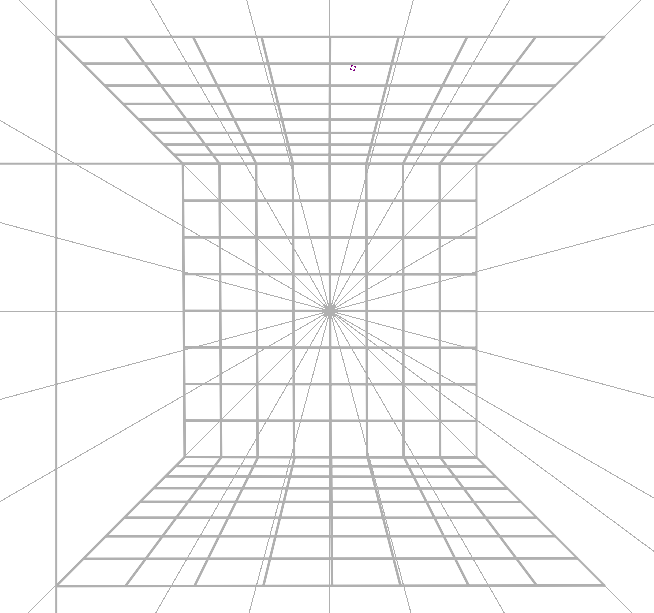 This tool is used to add special guidelines, like different types of rulers, special guides and vanishing points, and are particularly useful to draw in perspective with precision. Once you setup your assistants, you can set the level of snapping to them in the Tool Options, after you switch from the Assistant tool to Brush.
Just as with the Reference Images tool, Krita can save your assistant setup for later use. If you frequently use one or more assistants, you can save them as an external file and then load them any time from the Tools Options panel.
Wrap Around Mode
This feature is ideal for creating seamless textures to be used in 3D models. You can enable it in the View menu. The canvas will become limitless so that, as you paint, not only the strokes become perfectly reflected to create a seamless texture, but you can also check the result along seams in real time.
Inherit Alpha and Alpha Lock
These are features to protect your negative spaces from unwanted strokes or to define the transparency of certain layers.
With Alpha Lock enabled, transparency in the layer will be protected, including transparency gradients, and you can only paint non-transparent areas.
Inherit Alpha will calculate the layer's transparency based on the non-transparent areas of all layers below it, so that any area that is transparent in all layers below will become invisible in a non-destructive manner. If the layer is in a group, then the transparency will be evaluated only in relation to the layers below it that are inside the group. And if you click Pass-through at Group level, you can bypass Inherit Alpha.
If you use them frequently you could benefit from having shortcuts setup for them under Settings > Configure Krita > Keyboard shortcuts.
BONUS
Filters and expandable options
Krita has too many lovable things to mention, 10 is not enough. Apart from the default filters, if you ever need to extra filters, you can add the G’Mic plugin, and you’ll have access to hundreds of filters, including artistic effects, photo repair features, stereoscopic 3D effects, just to name a few categories. The options available for each filter let you customize quite a bit and get unique and creative results. Some filters in Krita are quite rare to find in other painting software, like Tones to Layers, which will split a single layer into as many as 10 layers according to the tones in it. Installing the G’Mic plugin: On Windows the plugin should be included in the Krita installation by default. On Linux you need to point to the appimage filepath in the Krita Configuration menu, where you can also get the download link for the plugin.
I hope you learned something useful about Krita from this article and you can use it in your artistic workflow.
